I am so excited to share how to make beautiful, branded, professional email signatures using a FREE program called Signature Hound! You can use your new signature in Gmail, Apple, Outlook, or any other email client as well.
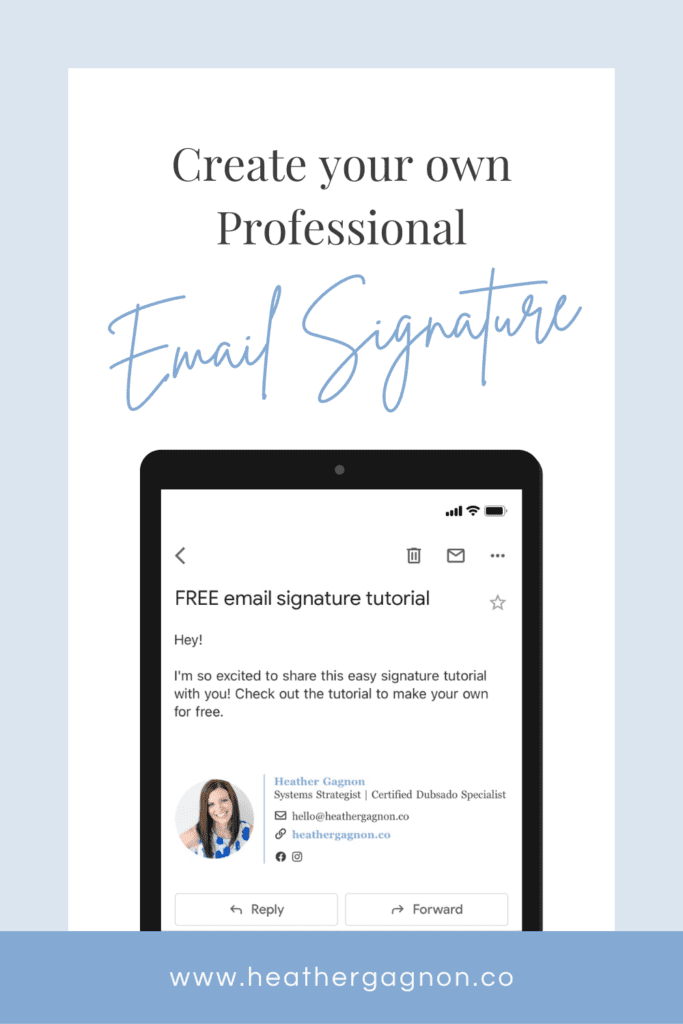
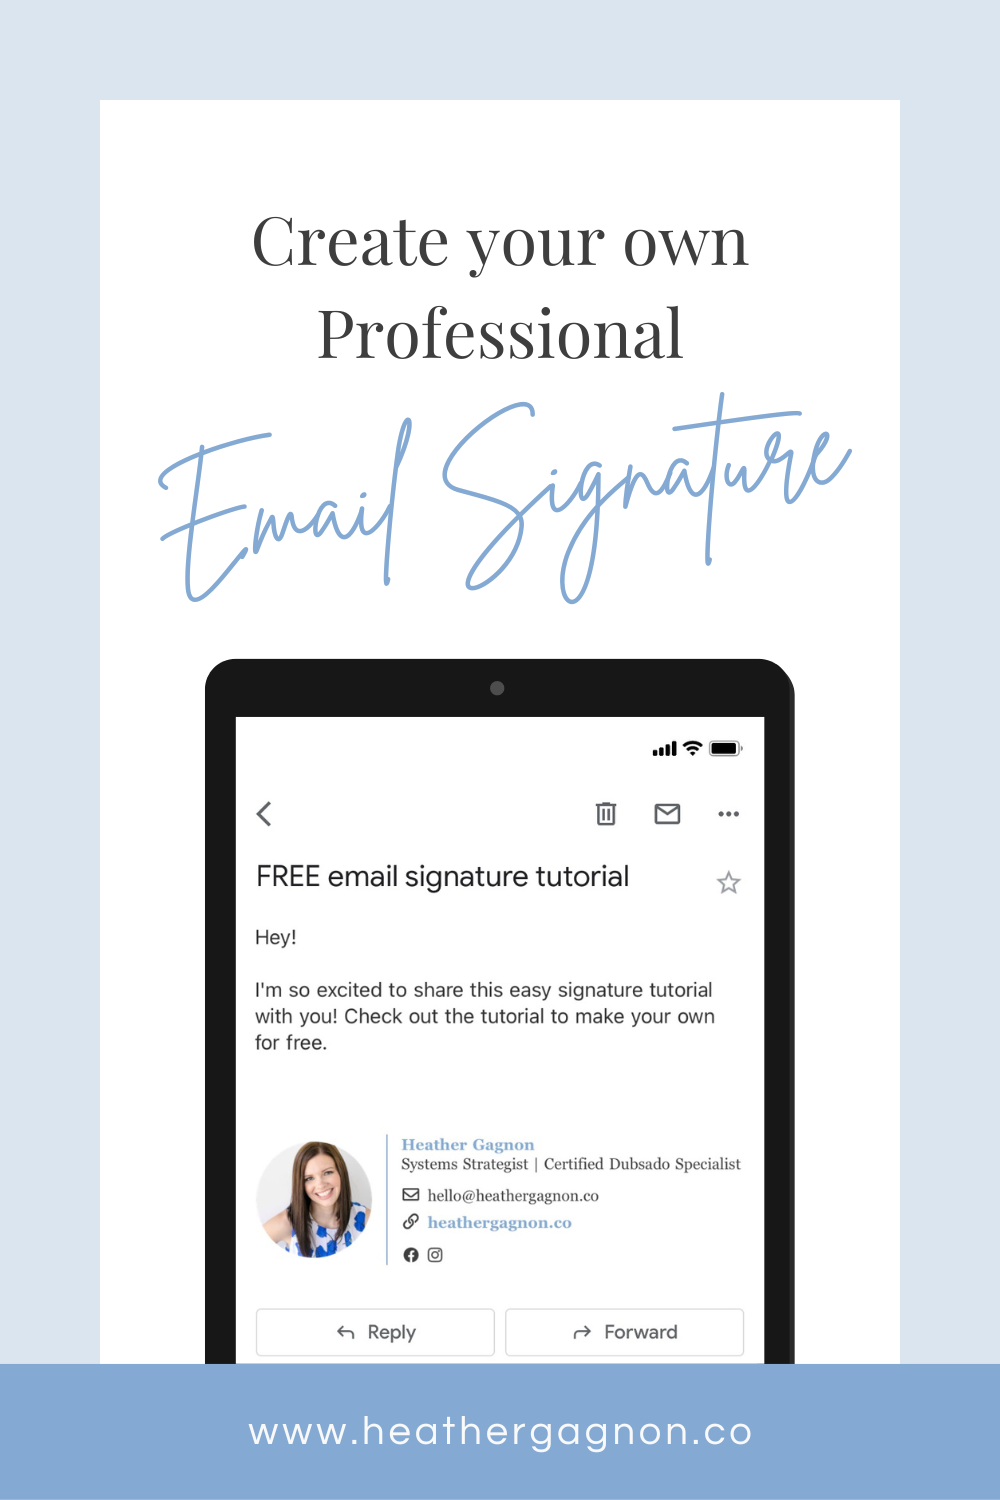
Here’s a peek at the email signature I created for myself, but there are quite a few customization options available so you can definitely customize yours to your own brand aesthetic. Some of the available customization options include: whether or not to include a headshot image and/or logo, your choice of font, colors, sizes and spacing, even your preferred look for the social media icons.
1. First, head to Signature Hound and design your free email signature.
I won’t go through all the steps of designing your email signature in Signature Hound because the site is super user friendly. Trust me, you do not have to be even a little techy to figure it out. 😉 Just create an account and get designing! You can have a beautiful signature in minutes.

2. Grab the code for your new, branded email signature.
“The code?! Wait a minute! You said this was NOT technical!” Stay with me; I promise you can do this!
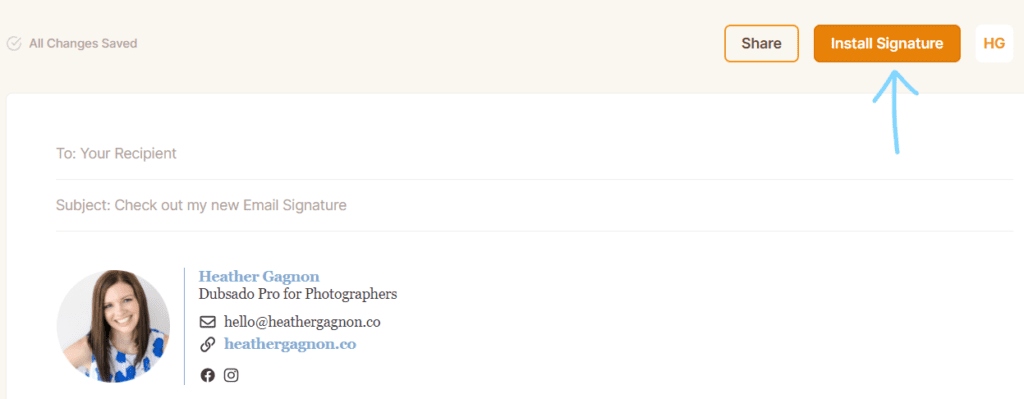
At the top of any page you’ll see a big orange button that says “Install Signature.” Click on that.
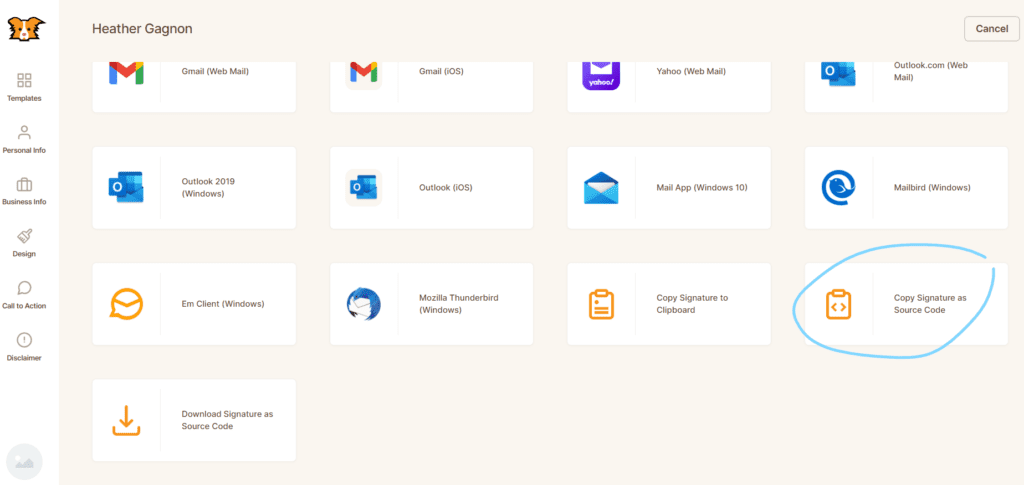
A big menu will open up with lots of different email clients. Since Dubsado isn’t listed specifically, we’ll skip past all of those and click on “Copy Signature as Source Code.”
You’ll get a little warning message, but click the orange “Copy Source” button again to get the code.
Once you’ve got it copied to the clipboard, you’ll see a cute little confirmation puppy at the bottom righthand corner of your screen. Now we’re ready to go to Dubsado!

3. Paste the code in your Signature in Dubsado
To find your email signature in Dubsado, go to Templates > Canned Emails > Signature.
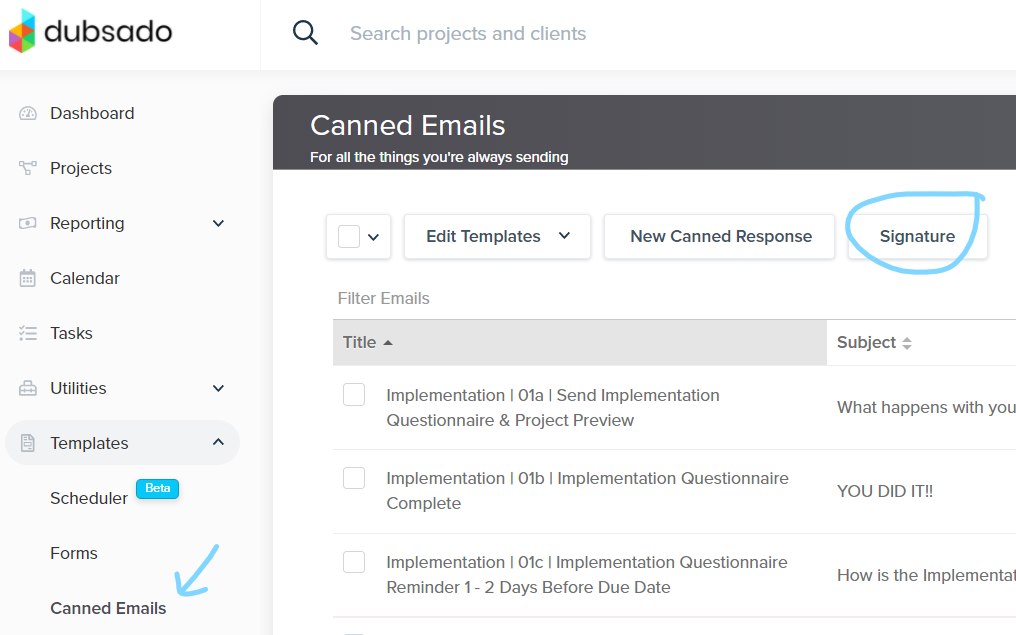
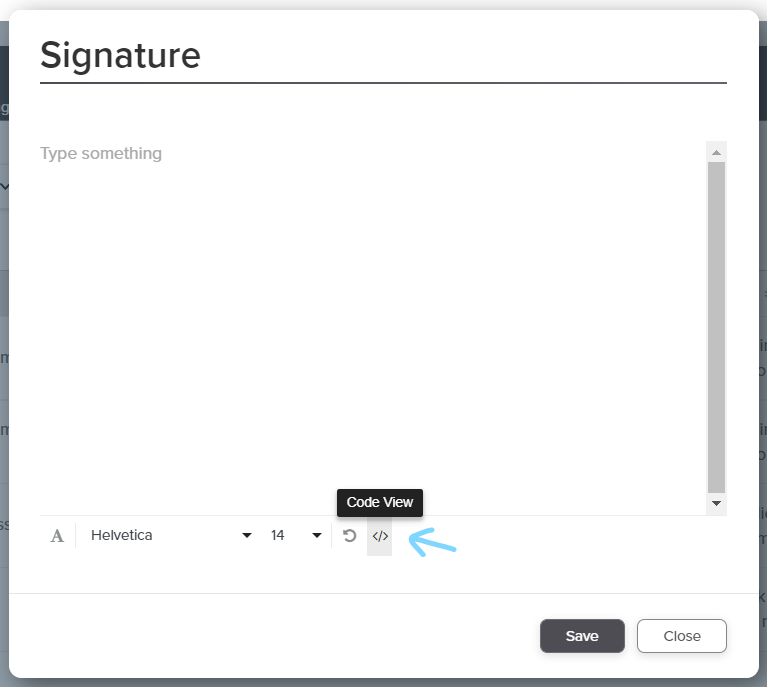
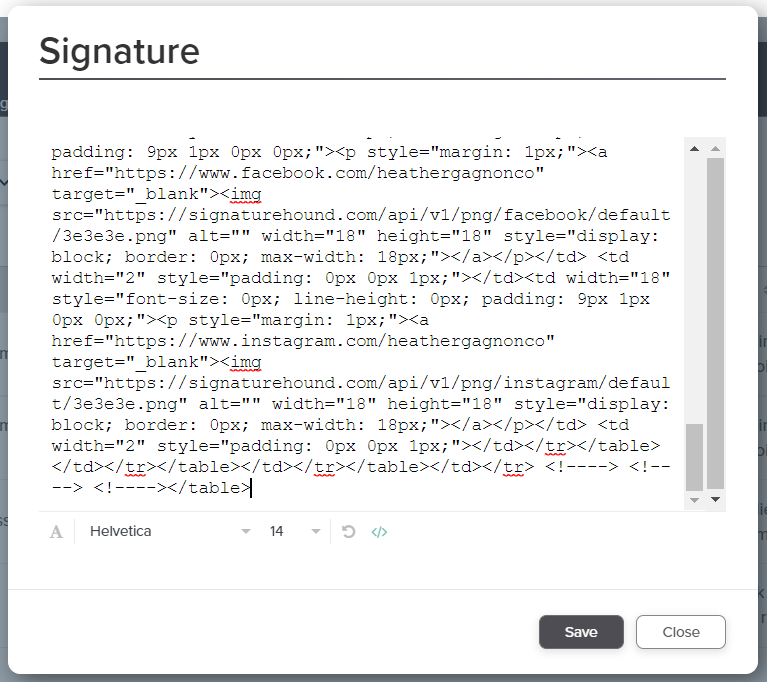
Clear out whatever is currently in your signature field and click the </> that will switch to Code View. Paste your code and click </> again to switch back to the live preview of your signature.
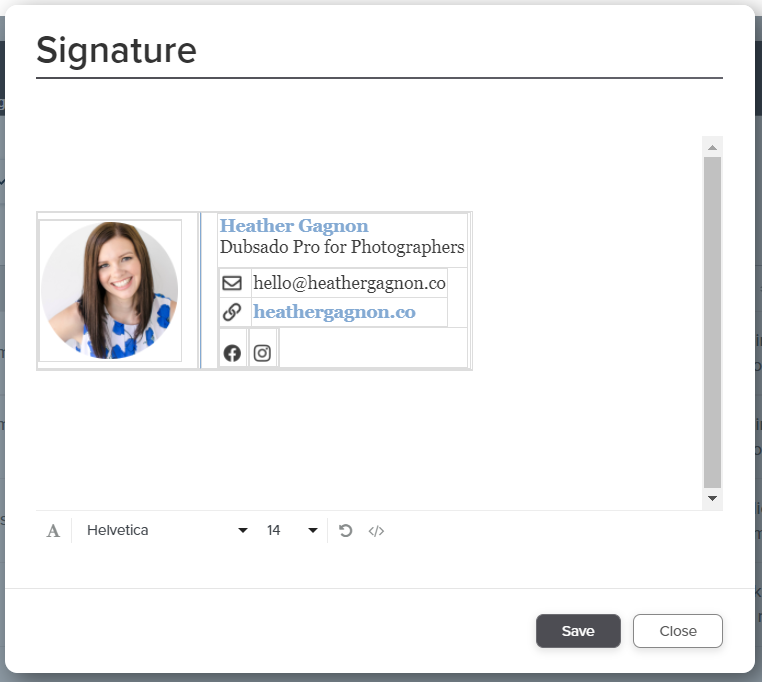
NOTE!!! You’ll notice that your awesome new email signature has a bunch of weird, ugly table lines. Not to fear! Even if you stop here without doing anything about it, the lines will NOT show up when you send emails. (If you don’t believe me, send yourself a test email to double check.)
However, I still recommend getting rid of the table lines because YOU will see them every time you send an email from Dubsado, and it will probably give you anxiety. 😆
4. Bonus step: Remove table lines from your signature
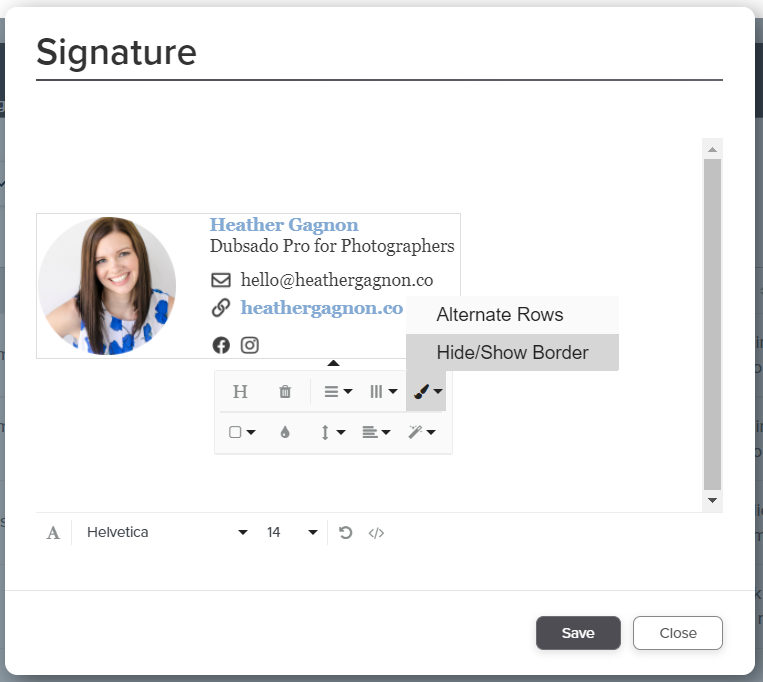
Click inside the box to get the table pop-up menu. Click the paintbrush and select Hide/Show Border (it will be highlighted after you’ve selected it and the border is gone). Do this at least once on the right side and once on the left by your headshot.
The only box remaining will be the very outer box. I haven’t figured out how to get rid of that box, so we’ll have to live with that one.
Now your new branded email signature in Dubsado is ready to impress! Was it as quick and easy as promised? Leave a comment below and let me know what you think!
Need more help with Dubsado?
For 1:1 Pro help with your Dubsado account setup, learn more about my Signature Setup package or Strategy Sessions here!

View comments
+ Leave a comment