
If you’re using Dubsado to manage your wedding business, you may have noticed that the built-in scheduler feels a little… how should we say, clunky? That’s especially true if you’ve been using another scheduler like Calendly.
It’s tempting to ditch Dubsado’s scheduler and stick with Calendly instead. But here’s the catch: you’ll lose all those automated workflows that keep your client process humming along without you having to babysit every single step.
You want the best scheduling experience for your clients without giving up the backend automation that saves you hours each week.
Turns out, there’s a simple Calendly + Dubsado hack that solves this.
Is Calendly better than the native Dubsado scheduler?
Short answer? Yes – as much as I hate to admit it as a Certified Dubsado Specialist and loyal Dubsado user since 2017.
Calendly’s whole business is appointment scheduling, so of course it does it very well. Whereas the Dubsado scheduler has been stuck in Beta ever since it was launched (so many years ago, I can’t even remember how many).
Many wedding professionals prefer Calendly because Dubsado’s scheduler doesn’t work well for teams – it can only handle one person’s calendar and availability.
(Note: Dubsado 3.0 is in development as of Fall 2025 with plans to update the scheduler.)
So here’s the dilemma: you want to keep using Calendly to give your clients a smoother booking experience, buuuuut you don’t want to miss out on Dubsado workflows. This leaves you choosing between a better client experience and automating your post-scheduling process.
Before I show you the workaround that lets you have the best of both worlds, let me explain why you might not even need it.
Why I recommend using the native Dubsado scheduler
Even though the Dubsado scheduler has limitations, the benefits usually outweigh the downsides.
Using Dubsado’s scheduler means you can use Workflows to automate all kinds of actions related to that appointment, saving you tons of time from doing things manually. And wasn’t time-saving automations the reason you chose Dubsado in the first place?
Some of my favorite automations around appointments are:
- Updating the project status once an appointment is scheduled
- Send a proposal after the appointment has ended
But since Dubsado and Calendly don’t integrate, those workflow automations are only available using Dubsado’s native scheduler – unless you know the hack I’m about to teach you!

Does Calendly integrate with Dubsado?
Nope. Since Dubsado has its own built-in appointment scheduler, it doesn’t offer integrations with popular scheduling software like Calendly or Acuity.
But if you’re determined to use Calendly anyway, here’s the must-know Calendly + Dubsado integration hack that gives you the best scheduling experience AND the power of automated workflows.
The Hack: How to Use Calendly with Dubsado Workflows
~Introducing~ the sneaky Calendly + Dubsado integration hack that lets you use Calendly’s superior scheduling app without losing your automations.
The trick? Create a form in Dubsado and embed your Calendly scheduler inside it. When your client completes the form, Dubsado gets notified and can trigger all your usual workflow automations from there.
Here’s exactly how to set this up in Calendly + Dubsado:
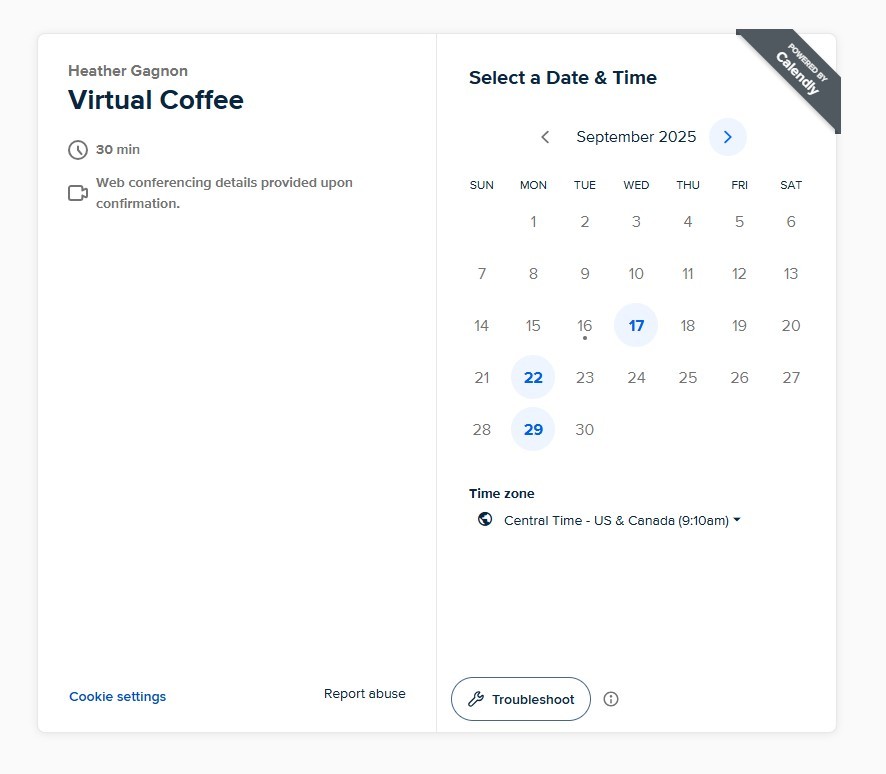
1. Create your appointment scheduler in Calendly
Set up your Calendly scheduler with your availability preferences, and make sure it’s connected to your calendar so that clients will see your availability in real time.
2. Create a questionnaire in Dubsado that includes your Calendly link
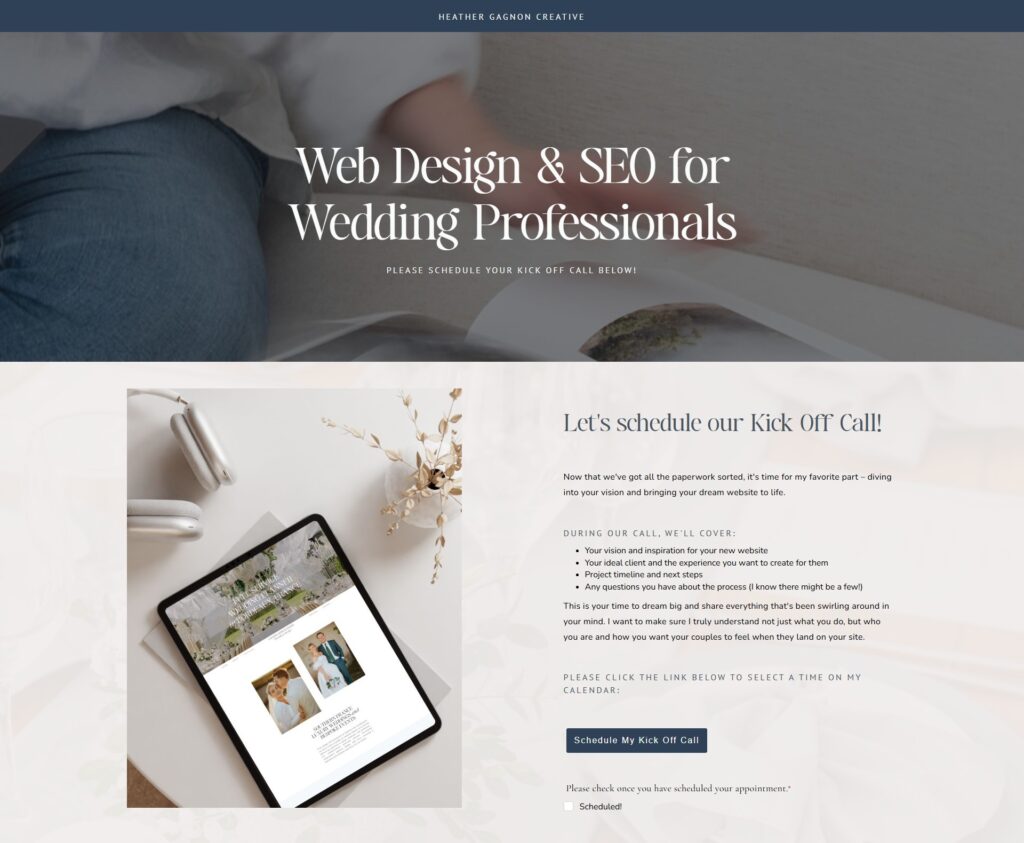
Now you’ll create a simple form in Dubsado that houses your Calendly scheduler. This is the key piece that makes the hack work.
Make sure you create a Questionnaire, not a proposal or lead capture. Give it a clear title like “Schedule Your Call” – your clients will see this title when the form gets emailed through your workflow.
The form itself doesn’t need to be fancy. You just need a button or link to your Calendly scheduler (I prefer a big button because it’s more eye-catching) plus simple instructions asking clients to submit the form once they’ve scheduled their appointment.
How to add a button in a Dubsado form:
- Add a text box
- Write out your button text
- Highlight the text, and from the formatting options, select Formatting > Insert Link or Button > Button
- Where it says URL, enter the link to your Calendly scheduler
- Where it says Text, you can adjust the label on your button
- Check Open in a New Tab
- Click Insert and the button will appear
3. Add the Dubsado questionnaire into your workflow
Now you’ll add your new form to whichever workflow you want to trigger the Calendly booking. This could be right after a lead inquires, or wherever it makes sense in your client journey.
How to send a form in a workflow in Dubsado:
- Go to Templates > Workflow
- Choose the workflow you’d like to edit, then click the gear icon (or click Add Workflow to create a new one)
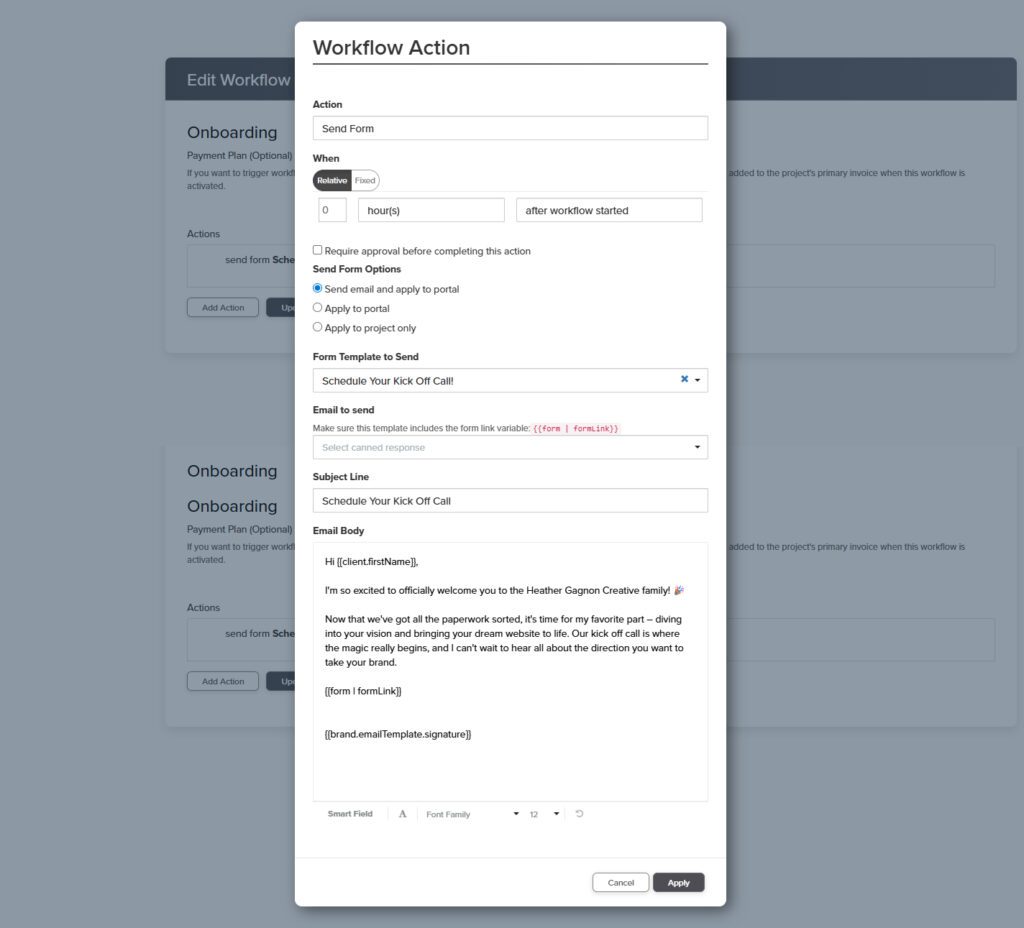
- Click Add Action.
- Under Action > choose Send Form
- Under When > choose the trigger and timing for this form to send
- Under Form Template to Send, select the form you just created
- Under Email to Send, select an existing email template (recommended) or write a new email here
- Click Apply to save
4. Trigger the next action using “after form is completed”
Here’s where the magic happens! Your Calendly scheduling link is now tucked inside of a Dubsado form, and you’ve asked clients to submit the form once they’ve scheduled their appointment.
This means you can use the workflow trigger “after form is completed” as a stand-in for “when my appointment is scheduled in Calendly.” Dubsado doesn’t know your client booked through Calendly – it just knows they completed the form – but the end result is the same.
Now you can add whatever actions you want after that trigger: send a proposal, update the project status, send a prep email, whatever your heart desires!
So there you have it!
While Dubsado doesn’t have a formal integration with Calendly, this simple Calendly + Dubsado integration hack lets you trigger all the usual “after appointment has been scheduled” automations when clients book through Calendly. You get the scheduling experience you want without sacrificing your workflows.
The next step after getting your client workflows dialed in?
Making sure your website is attracting the dreamiest couples so you can actually use them! Here’s how I can help:
→ Grab my free website checklist to help you check everything from first-glance design impressions to behind-the-scenes SEO basics so you can feel more confident sending people to your website.
→ Explore website templates for photographers who want to stand out online without starting from scratch.
→ Browse my web design services and let me design your services page (or your whole website)!
→ Ready to give Dubsado a try now that you know you can keep using Calendly? Get 30% off Dubsado with code HEATHERGAGNON.


View comments
+ Leave a comment